

Minigames / FIELD NOTES
Fallen Emperor minigame
Craft the entry conduit, recognise the changing trial rooms and reach the Emperor’s loot hangar on Pendola Pass.
Sources reviewed 12 October 2026 · Community walkthrough; check current in-game prompts.
In this guide · 8 sections
1Get the entry materials during Redirection
On Pendola Pass during Redirection, find an active Damaged Emperor Relay and collect an Emperor Beacon. Deploy it in an open area, shelter from the falling debris, then breach the large upright payload for couplers and a chance at the conduit blueprint. Use the beacon during that raid: extracting turns it into a ruined version.
EXPLORE THIS BRIEFING
Sources: Destructoid · Emperor entry ↗ · ARC Raiders Hub · Emperor walkthrough ↗
2Craft the Emperor Gateway Conduit
Learn the Emperor Gateway Conduit Blueprint, then craft the key at Workbench I using one ARC Conductive Coupler, one ARC Insulated Coupler and one ARC Plated Coupler. This preparation happens in Speranza. Return to Pendola Pass with the crafted conduit; use it at the socket beside the round hatch at the fallen Emperor’s base.
EXPLORE THIS BRIEFING
Sources: Destructoid · Emperor entry ↗
3Pack for traversal and a long run
Our advice: take a climbing tool, enough ammunition for ARC fights, healing and shield recovery, with room left for loot. Frozen Trail 2.0 changed the Snap Hook to 18 m range, 4% durability consumption per use and 60 power cost. Check its condition before leaving and reserve durability for the return journey.
EXPLORE THIS BRIEFING
Sources: Embark · Frozen Trail 2.0 ↗
4Clear the entrance and activate the lift
Shoot electrified boxes to discharge them temporarily, clear the Hydra guarding the approach, then destroy the glowing nodes on the elevator mechanism and surrounding walls. Ride the moving platform upward. The intermediate rooms can appear in a different order between runs, so recognise the hazard rather than copying a fixed left/right route.
EXPLORE THIS BRIEFING
Sources: ARC Raiders Hub · Emperor walkthrough ↗ · AllThings.How · Emperor room mechanics ↗
5Solve maze and climbing rooms
In the open maze variant, clear ARC and shoot the yellow nodes; a partitioned maze instead needs you to find the unlocked exit. In vertical shafts, discharge electrical blocks before landing and move while they are safe. Take drops one ledge at a time. A climbing tool helps with gaps, but check your landing before committing.
EXPLORE THIS BRIEFING
6Cross gas, crushing walls and lasers
Gas drains stamina while walls move through the chamber. Use the recessed safe spaces, watch a complete movement cycle and cross through the gaps. In laser rooms, use beam-blocking cover or floor indentations where the layout permits. Do not assume a sprint path from a different room variant will work. Clear Hydras from cover before traversing exposed machinery.
EXPLORE THIS BRIEFING
7Open the final hangar caches
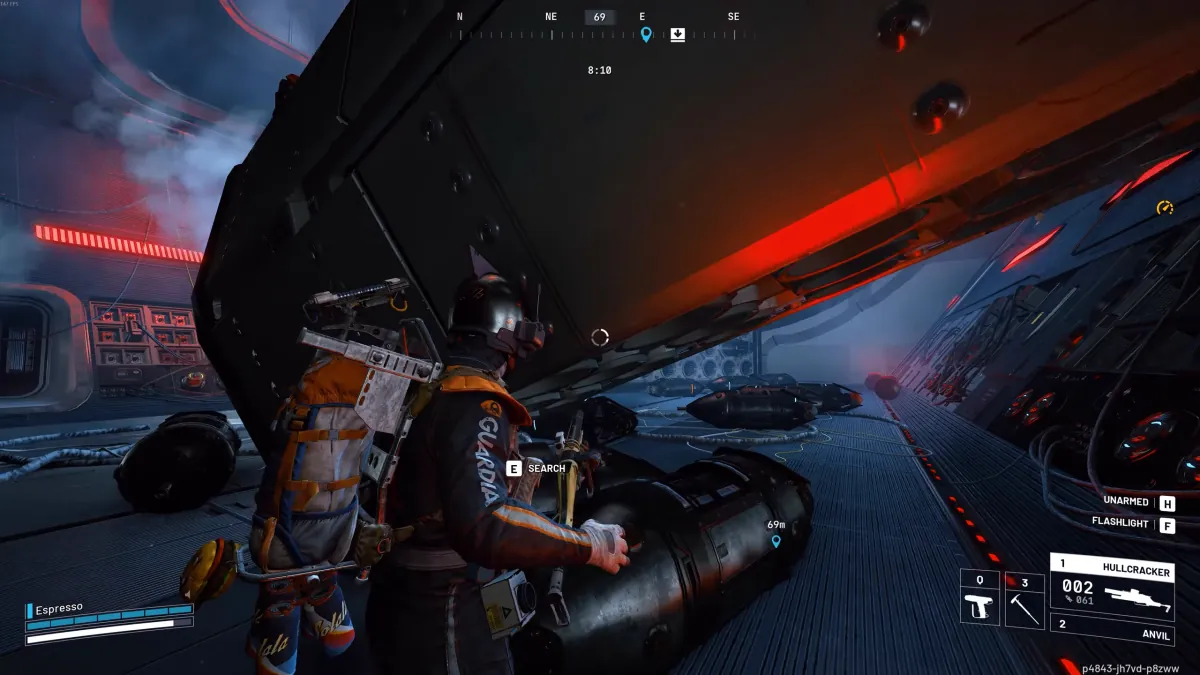
At the last hangar, cross using the swinging structure and destroy the six yellow nodes, three on each side. Opening the roof brings flying ARC, so clear the danger before searching exposed caches. Treat orange or flashing pods as explosive hazards and step away. Emperor Modulators and Amplification Modules are reported loot, not guaranteed drops.
EXPLORE THIS BRIEFING
8Leave time to extract
The hangar exits lead back out; an exit does not itself extract you from the raid. Plan your return and check the available Gondola extraction in-game. Our advice: set a personal turnaround time before entering, prioritise your required material over another container, and protect it in a safe pocket when your augment allows.
EXPLORE THIS BRIEFING
Sources: ARC Raiders Hub · Emperor walkthrough ↗ · AllThings.How · Emperor room mechanics ↗