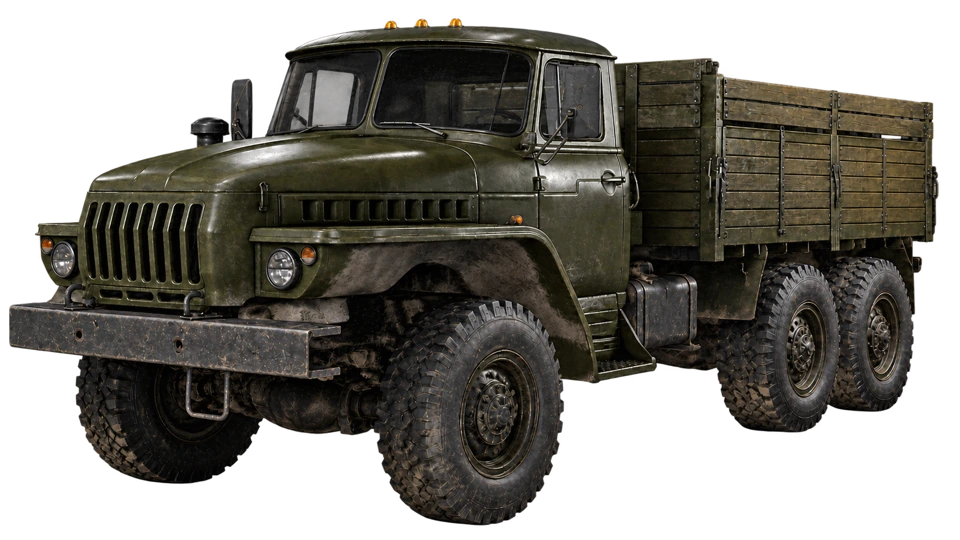
Build
Construction & structural repairsBring this to turn planned defenses into finished pieces. Hammers consume Build Supplies.
ENGINEERING BRIEF / BUILDING & LOGISTICS
A Forward Operating Base is your team’s construction and supply hub. Learn what to bring, how to build, and how to keep the frontline stocked.
Build your first FOB ↓Content reviewed 24 Sep 2026. Store and unlock prices were rechecked; construction costs remain community beta references. Follow current placement prompts, build costs and stock indicators. Practical recommendations are labeled as tips.
01 / ESTABLISH THE BASE
Season 1 also reduces XP for supply-crate sales below $75 to 1 XP and rescales the purchase curve from 25–250 to 1–200. The FOB item provides a build radius and stores resources. Its Season 1 store price is $7,500, weighing 6.5 kg and occupying 2 × 3 inventory slots.
Beta guides describe the FOB as a logistics hub, not a respawn point. Do not mistake its map marker for a deployed spawn vehicle.
Pick a position that supports your team’s route to the objective. Favor cover, a usable delivery approach and room for vehicles to turn. Agree on the location with nearby teammates before spending.
Buy the Forward Operating Base deployment item and a hammer suitable for the structures you want. Bring Build Supplies and a way to transport more. A new builder can also help stock an existing friendly FOB.
Use the FOB item’s current placement prompt on valid ground. Check its build area, then unload supplies into the base. Confirm its stock actually increases; cargo sitting nearby is not the same as resources stored in the FOB.
Equip the hammer and open its build menu. Check the material cost, position the piece and complete construction. Beta reports indicate that hitting the yellow X speeds up progress; keep checking the completion indicator.
Start with useful cover and a clear delivery lane. Add services or heavy weapons when your team can supply and operate them. Check stock before the next build and call for the resource running low.
02 / SEND THE RIGHT CARGO
Bring this to turn planned defenses into finished pieces. Hammers consume Build Supplies.
Keep emplacements supplied. This logistics resource is not a replacement for the magazines carried by infantry.
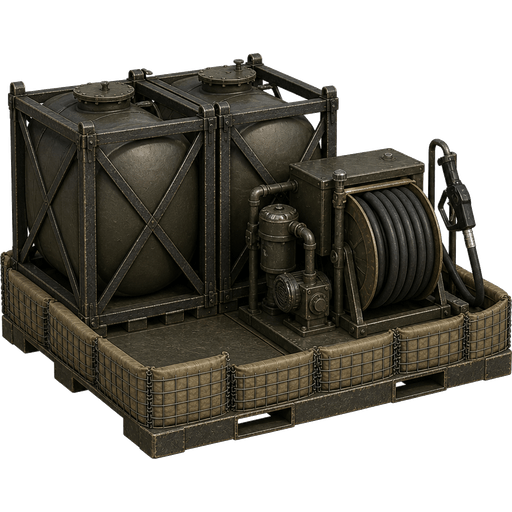
Deliver Fuel supplies to the FOB to activate its drill. The active drill pulls the Hot Zone toward its location at your base.
Stock Mechanical Supplies for vehicle repair. The Repair Station description calls these spare-parts logistics supplies.
Tip: Ask for the resource name and the shortage before leaving HQ. A base short of ammunition gains little from another load of construction supplies.
03 / CHOOSE YOUR TOOL
Store price is paid when buying the tool. The separate unlock fee grants access once you meet its Support level requirement.
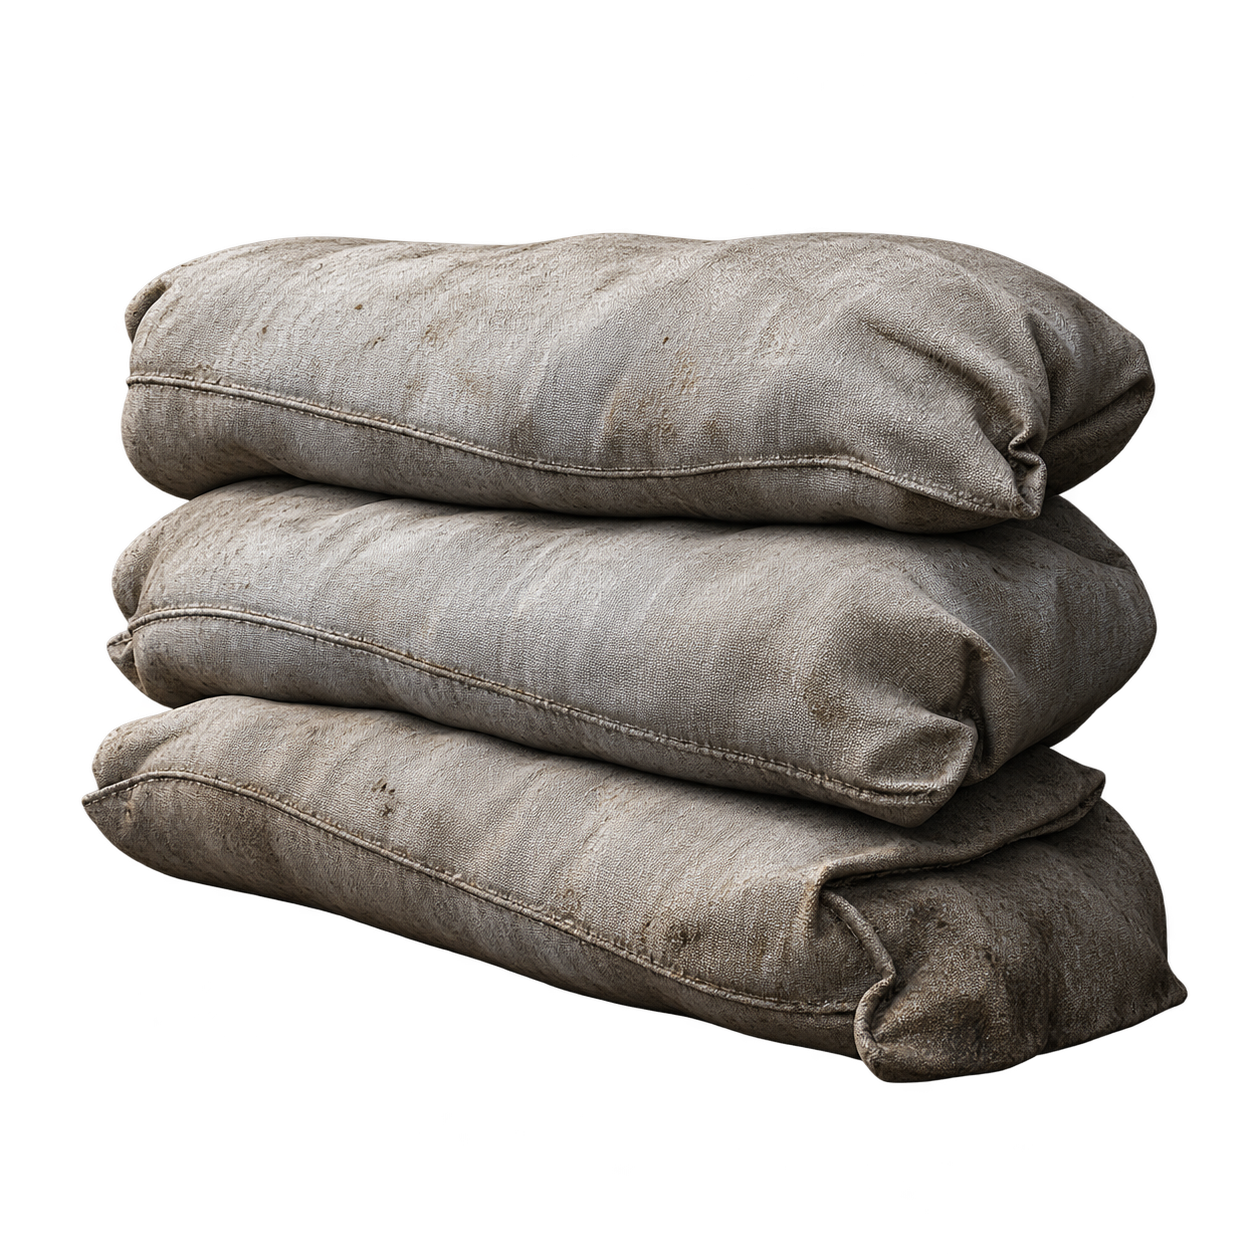
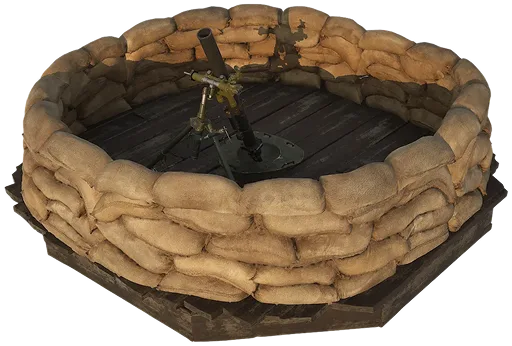
Small structures; slow construction. Useful for simple defenses such as sandbags and barbed wire.
Builds large and basic structures at moderate speed. Check the menu for the pieces available to this tier.
Reported to support all buildables and the fastest construction speed. Still requires Build Supplies.
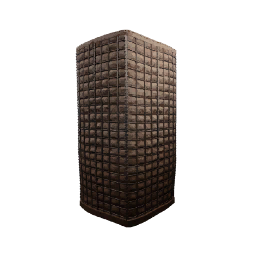
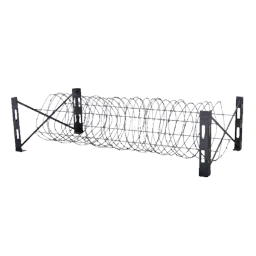
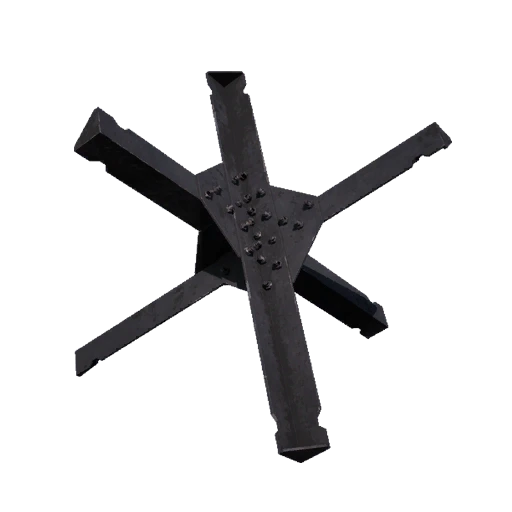
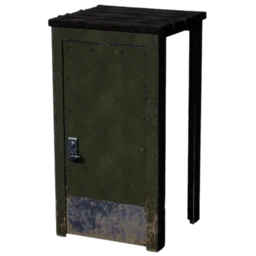
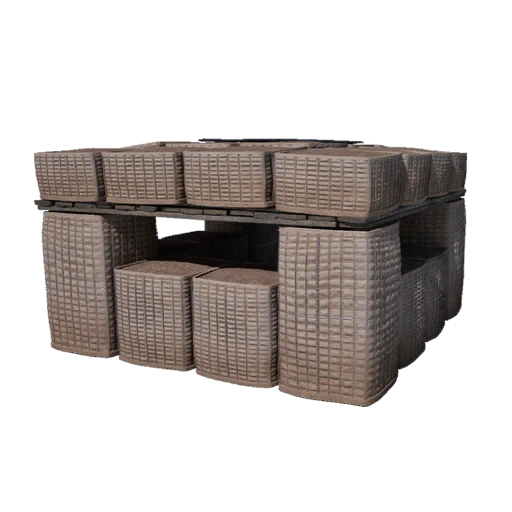
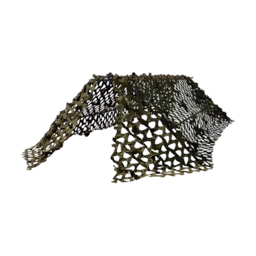
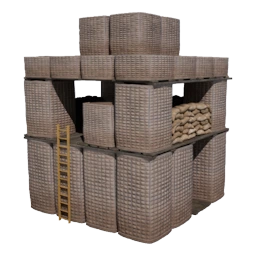
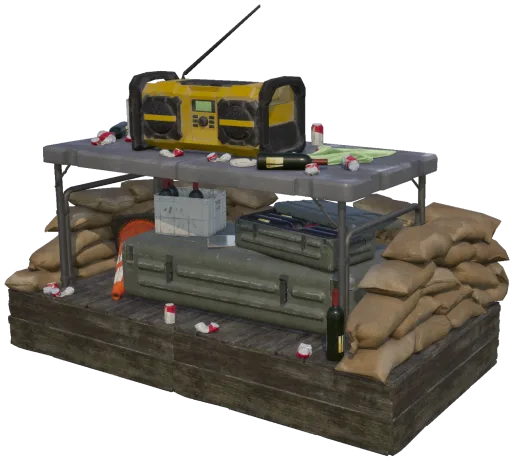
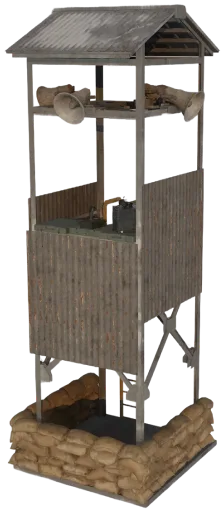
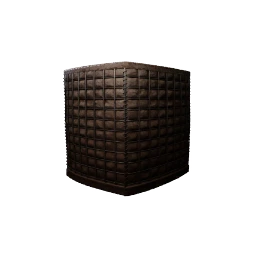
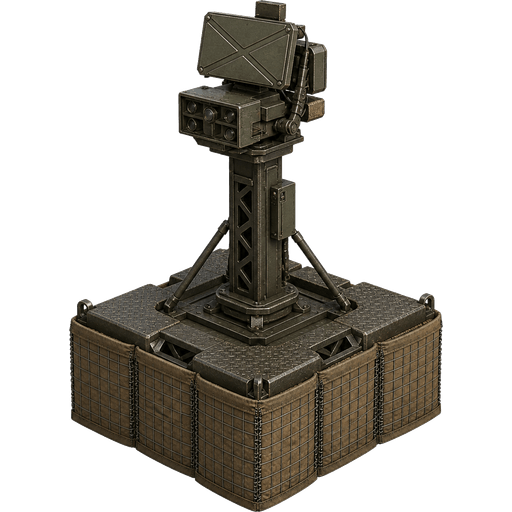
CONSTRUCTION REFERENCE
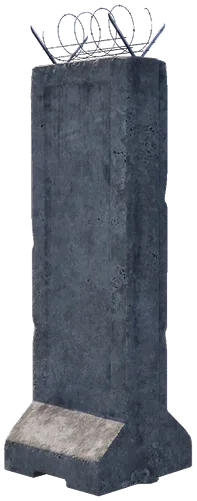
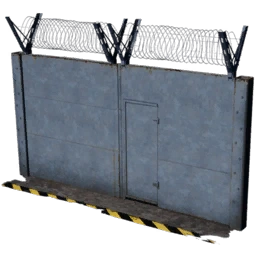
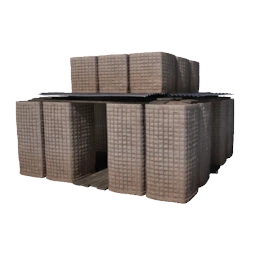
These are the same construction figures used by the FOB planner. They are resource amounts, separate from the $7,500 FOB deployment item and hammer purchase prices.
Rechecked 24 Sep 2026. Wardogs Labs ↗ still attributes its costs to beta footage. The individual large HESCO block uses an earlier community record. Assemblies with unknown costs remain unknown in the planner; current in-game costs may differ.
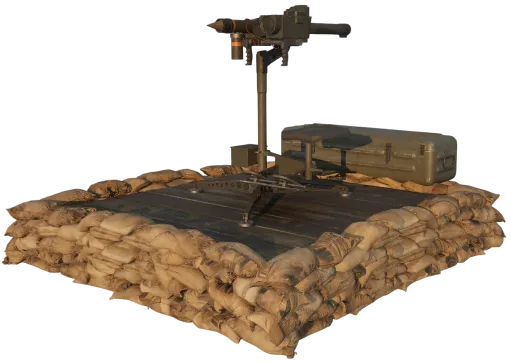
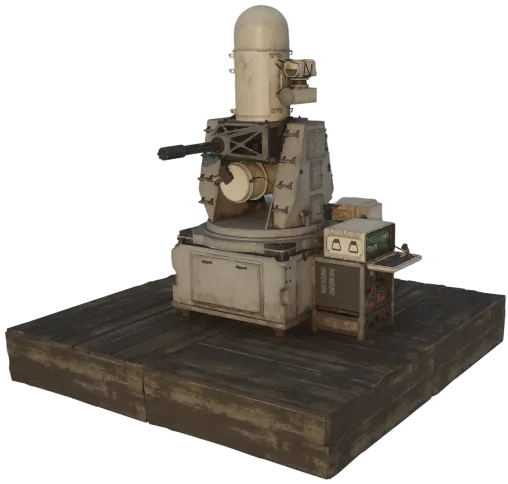
04 / BRING THE FIGHT TO YOUR FOB
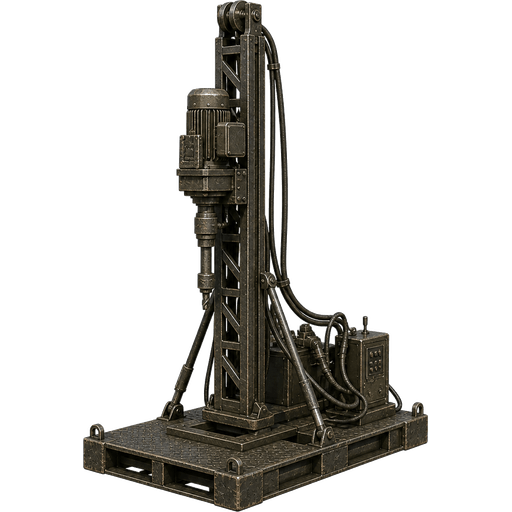
A player-built Drill Rig acts as a Hot Zone magnet: once fueled and activated, it draws the smaller Hot Zone toward the drill at your FOB.
Players in the Hot Zone count double toward zone presence and earn more cash. Bringing it to a defended FOB helps your team hold that valuable area. You still need teammates inside the zone.
Use a friendly FOB within the active Control Zone (also called the Combat Zone). Equip a Large Hammer, select the Drill Rig and follow the placement preview inside the FOB build area. Bring Build Supplies to finish it.
Choose ground your team can hold, with cover around the position and a short, usable supply route. Leave room to reach the drill controls and unload trucks. Build defenses without sealing off your delivery lane.
Unload Fuel supplies into the FOB and confirm its stock increases. Use the drill’s activation prompt once its fuel requirement is met. Construction alone does not start the pull.
Watch fuel and the drill’s current status while teammates defend the Hot Zone. The pull is temporary; the zone can move away after the drill stops. Plan the next delivery before the base runs dry.
Fuel planning: Beta reports show a full fuel level of 6,000/6,000. Other beta guidance says activation with less is possible for a shorter run. Treat 6,000 as a reported full charge, not a verified minimum; follow the current drill display.
05 / RUN THE SUPPLY LINE
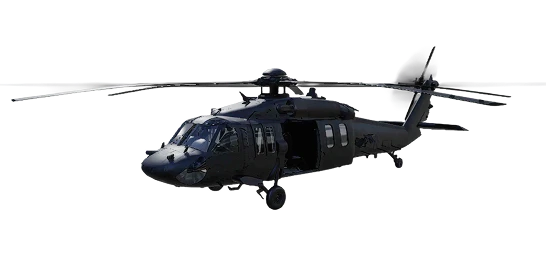 Z20 Lakota · air logistics ↗
Carry supplies by air using its optional logistics crates. Tip: coordinate a clear unloading area with the FOB team before approaching.
Confirm the FOB is still held, check its requested supplies and load the vehicle before leaving. Keep enough cash to replace your transport if the trip fails.
Use a clear approach and avoid blocking the gate. Slow down before handling cargo: high-speed impacts can destroy Small Crates and Build Supply Pallets.
Check the FOB’s resource stock, report what you delivered, then ask what should be on the next run. Change your approach if the route is being watched.
06 / WHEN SOMETHING DOESN’T WORK
Read the placement message. Check terrain, obstructions, the FOB build area and whether your hammer supports that piece.
Check available Build Supplies, the equipped hammer and the progress indicator. Aim at the yellow X; do not assume one hit always completes a structure.
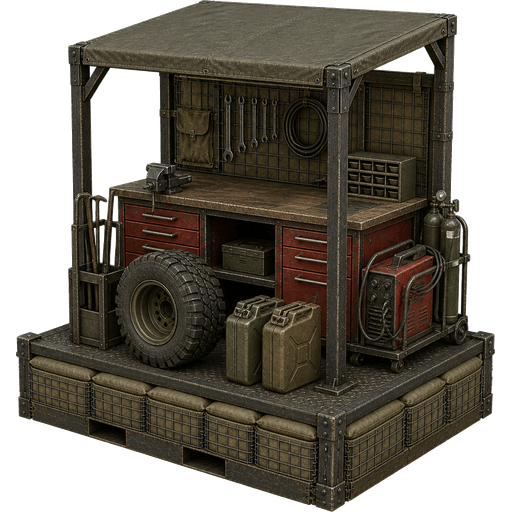
Check that the appropriate station is built, its required resource is stored at the FOB and the vehicle is within the FOB radius.
Check that construction is complete, Fuel supplies are stored in the FOB and the drill’s current activation conditions are met. Follow its fuel and status display.
Check Ammo Supplies and the weapon’s current reload prompt. More Build Supplies alone will not fix an ammunition shortage.