

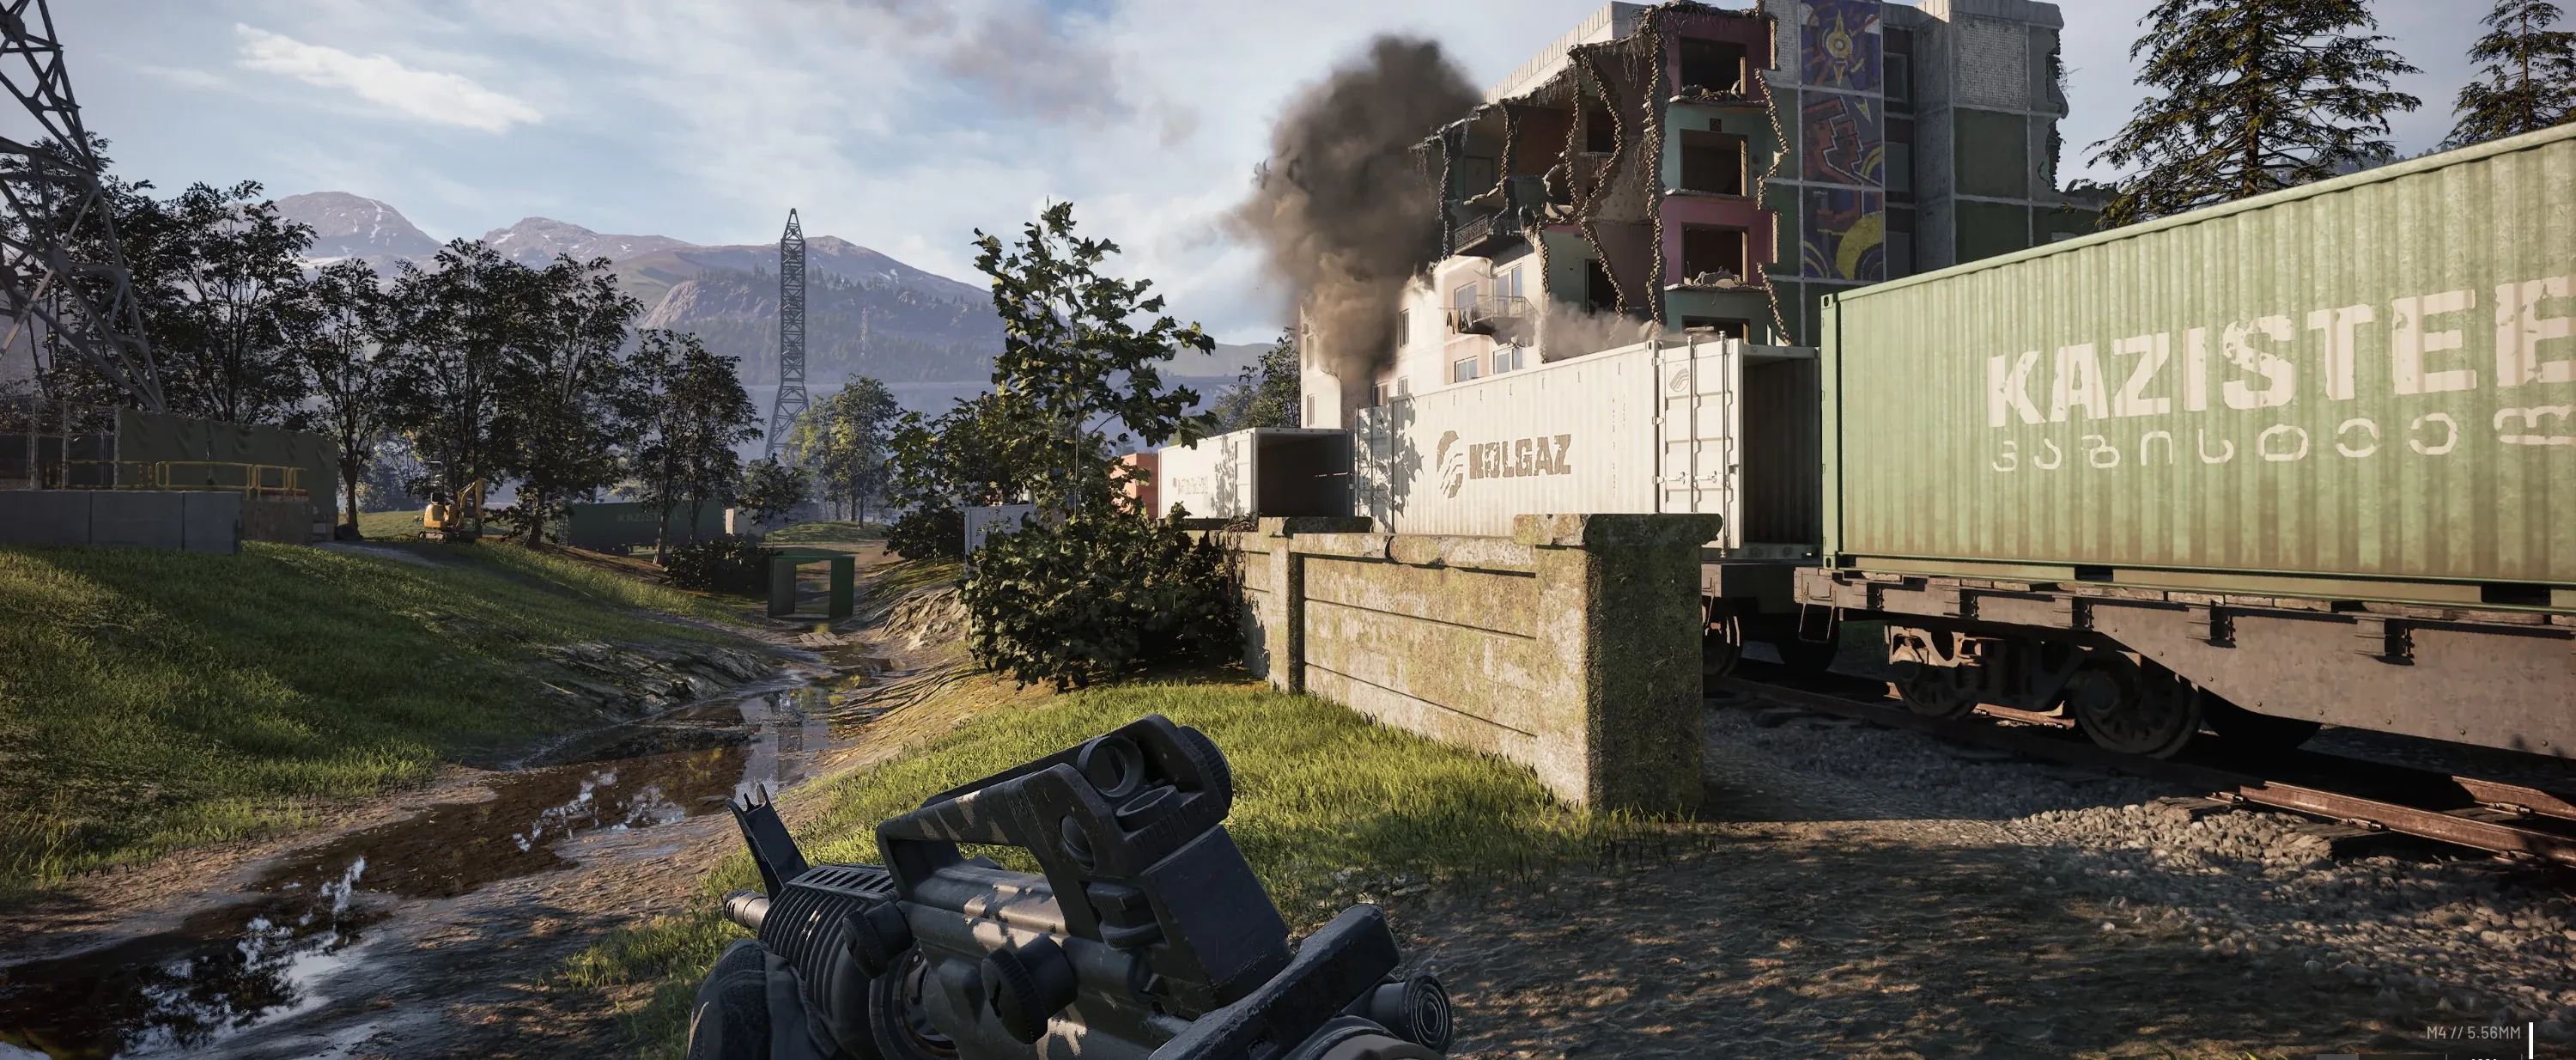
WARDOGS / GUIDESeason 2
3-Drill Meta
The three-way drill meta uses three fueled drills inside one FOB. Rotate their activations to keep bringing the Hot Zone back to the same defended base.
A rotation needs more fuel and a real handover.
SEASON 2 / READ BEFORE BUILDING
Update 0.2.0 specifically reduces the dominance of multi-drill bases. Each drill needs at least 2,000 Fuel to activate, holds 10,000 and runs for 0.03 seconds per Fuel: at most 300 seconds on a full tank. The replacement cooldown after destruction is substantially longer; its exact duration is not published.
Three full tanks therefore need 30,000 Fuel. This is a planning total, not proof of an uninterrupted Hot Zone lock. Check each rig’s status and the objective before activating; the old rotation diagram does not simulate the new cooldown.
Pull. Hold. Hand over.
01 / HOW IT WORKS
Build and fuel three drills inside the same FOB, then coordinate an A → B → C activation order. All three support the same base: operators manage the handover while logistics supplies fuel and teammates defend the position. Community reports describe this style of multi-drill rotation.
The diagram illustrates an activation order. It does not simulate cooldowns, fuel use or exact distances. Use the current in-game indicators for each handover.
THE OBJECTIVE STILL NEEDS PLAYERS
A drill changes where you fight. Teammates still need to occupy and defend the Hot Zone. Read the objective guide →
ONE FOB / THREE FUELED DRILLS
ONE SHAREDFOB
01 / DRILL A TAKES THE TURN
A starts the example. Check B’s readiness while teammates defend the position.
All three drills are inside this base · Illustration only, not to scale
Follow the drill rotation.
PLAN / 3-DRILL META
Three fueled drills, one FOB. Use the rotation diagram to follow the A → B → C handover.
PLAN YOUR OWN SETUP
Keep the drill controls accessible and leave a clear approach for fuel deliveries. Check each drill’s status in game before calling the next activation.
Explore the rotation diagram ↑
Plan a clear approach for your squad and supplies.
FOB bunker construction reference
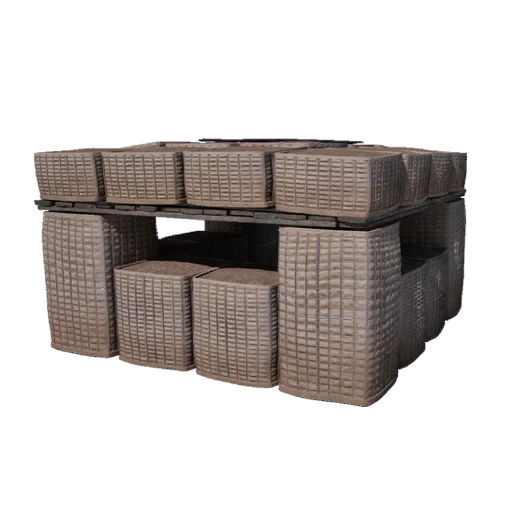
Build for the next handover.
02 / RECOMMENDED SETUP
These are planning recommendations, not an optimal layout or a fixed build order for every map.
Step by step
- 01
Choose ground worth holding
Before building, agree on a position inside the active Control Zone. Look for cover, a usable supply approach and space for infantry. A convenient drill position is not automatically a useful objective position.
- 02
Build three drills inside one FOB
Place all three drills within the same base’s build area and bring fuel for the rotation. Use the existing FOB and hammer requirements. Keep drill controls reachable and the delivery lane open. Recommended: leave separation between important structures so one attack does not threaten everything at once.
- 03
Assign the activation order
Label the drills A, B and C. Have one caller coordinate the rotation. Check each drill’s actual status before calling the next activation; do not start all three together.
- 04
Supply and defend the handover
Have logistics report fuel stock and the next delivery. Defenders keep watching approaches while operators watch the controls. If the next drill is unavailable, call it early and respond to the Hot Zone’s actual location.
Run the base, not just the terminals.
PLANNING EXAMPLE / THREE DRILLS IN ONE FOB
Use this example to divide the work before building. It is an illustrative crew plan, not a tested minimum player count or a guaranteed continuous rotation.
1 caller / operator
Label the drills A, B and C. Track which drill is active and ask for the next drill’s readiness before handing over. One caller keeps activation decisions in one place.
1 logistics player
Check fuel at the base, arrange the next load and keep the delivery entrance usable. Report a delayed run immediately, so the caller can stop planning around supplies that have not arrived.
2 defenders to start planning
Assign one to watch the delivery approach and one to watch the opposite side. Add players when the frontage or enemy pressure demands it. This allocation does not establish how many players are needed to hold the Hot Zone.
A handover your squad can follow
Before spending on the base
Budget for three drills, the FOB, required construction supplies, fuel and delivery transport. Add defences only after preserving access to the drill controls and a route for unloading and turning vehicles. Exact drill resource costs are not verified here; read the current build menu before buying the load.
Plan separation between the three drills and avoid putting the delivery entrance through an operator’s work area. Mark the approach in the interactive map, then arrange the structures in the FOB planner.
WDGuide planning example. This crew allocation and call sequence are editorial recommendations. Published Season 2 fuel limits appear above; exact cooldowns, continuous rotation and success rates remain unverified.
Run the base, not just the terminals. · reference table
| Situation | Call | Next action |
|---|---|---|
| A is running | “A active. Check B.” | Check B’s fuel and availability; logistics confirms the next delivery. |
| B is available | “B ready. Hold for the call.” | The caller checks the objective and team position before committing the next activation. |
| B takes over | “B active. Check C.” | Confirm the change in game. Repeat the readiness check for C; keep defenders on their approaches. |
| The next drill cannot run | “Rotation broken. Check the Hot Zone.” | Redirect players to the actual objective. Resolve fuel, access or availability before promising another handover. |
The rotation needs a team.
CALLER & OPERATORS
Agree on A → B → C. Report readiness, activate on the call and announce when the plan breaks.
LOGISTICS & BUILDERS
Keep fuel deliveries coming, check stored resources and maintain access for supplies and repairs.
DEFENDERS & SCOUTS
Watch the approaches and report enemy pressure. Stay involved in the objective instead of everyone watching a drill terminal.
Pressure the base. Watch the third team.
04 / BREAK THE CYCLE
Community players report using supply-route ambushes, mortar pressure and coordinated raids against drill FOBs. Success depends on cover, defenses and the squad carrying out the attack.
Recommended approach
Scout before committing. Identify the supply approach and exposed structures, then agree on one target and a covered route. Coordinate pressure with teammates who can contest the objective.
Avoid winning the wrong fight
Check who benefits if you stop the drill. Keep watching the map and team presence; committing everyone to a raid can leave another faction free to take the objective.
If your own rotation fails
Announce the missed handover, check the Hot Zone and redirect teammates. Save the next activation for a position the team can actually support.